Profiles
Profiles are similar to having different sub-accounts under your own main account. You can create multiple profiles for persons or organizations and then share them with others. By doing this, you will continue to own the 'sub-account' while allowing others to access each profile separately.
Benefits of Profiles:
1. Isolate applications from different customers. If you have two profiles, and one of them reaches the service limits for example, only that one will be blocked, the other will not be impacted.
2. Grant restricted access for external individuals to certain applications and organizations.
3. Track cost of individual applications and customers. Visualize breakdown cost per Profile and Services on the Statistics page.
Switching Profiles
To switch profiles, click on the current profile shown on the top left and select another one.
Adding Profiles
Go to your account, select Profiles & Teams from the list, and click on Add Profile.
After that, you can go in and edit the profile to change the name, logo, and upgrade services & add-ons for it.
Each Profile starts with certain services included, it is up to you to increase the limit as you scale up the applications that will run on that Profile.
Renaming your Profiles

Transfering Profiles Between TagoIO Accounts
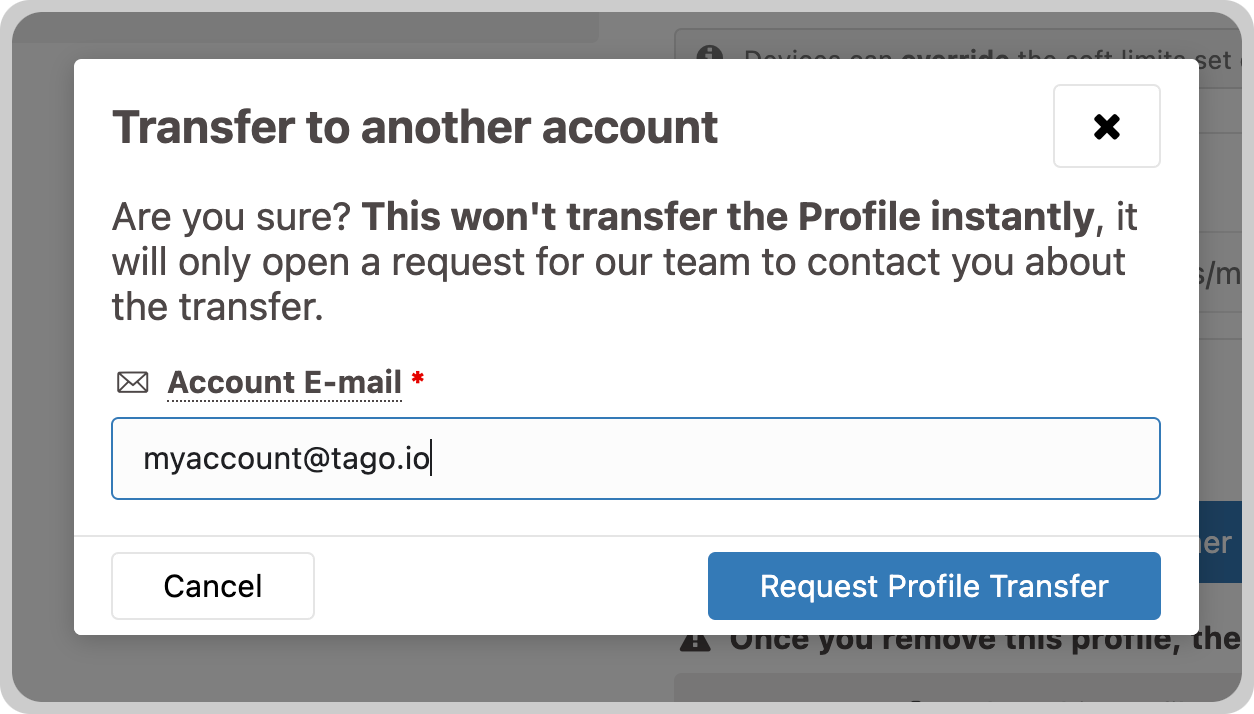
Once you request the transfer, our support team will assist you with the next steps. When you submit a profile transfer request, a support ticket is automatically created, and our team will contact you shortly by email to confirm the required information and prerequisites before proceeding with the transfer. The process is manual and may take a few hours to complete.
 The profile transfer is available for Starter and Scale accounts. Check out our princing page (https://tago.io/pricing) for more information.
Team management - Sharing Profiles
You can add others to your profiles by adding their e-mails in the team. To invite someone, go to the specific Profile, and select the tab 'Team'. Learn more here.

Generating Account Tokens
Account tokens are used to authenticate requests in the TagoIO API. You can use our API to make integrations and create devices, buckets, dashboards, send data, and more. To create an account token, follow these steps:
- Click on the Tokens tab
- Add a name, permission, expiration, and click on Generate Token
- Insert your password
- Click on Generate my token
Related Articles
Allocating Services to profiles
When handling multiple profiles in your account, it's essential to ensure each profile is allocated with the right amount of Services to operate efficiently. This can be managed on the Billing page under the 'Resource Allocation' tab. The services ...Add-ons Overview
On top of the fundamental IoT services provided to run your applications, great add-on modules are also available to customize your application using TagoRUN. Add-ons are applied separately to each of your Profiles. In your account, go to Profiles & ...File storage service
You can use our Files module to store any type of files for reports, videos, logos, background images, and more. The File service is measured by the overall size of all files stored in your profiles. If any of your profile reaches the limit of size ...Managing your account with the TagoIO Mobile App
The TagoIO App is your gateway to streamlining your ecosystem and manage all your IoT applications in one place. It allows you to monitor and control your services and resources for all your profiles. Receive real-time notifications and alerts on ...Billing Summary
You can get an overview of your account's costs for the current month by clicking on the Summary tab. This view helps you to track the cost of sub-accounts (profiles) that you may use to bill your own customers. This page is composed by three views: ...