How to integrate with KPN Things Network
This guide will walk you through the process of integrating a LoRaWan device with the KPN Network and TagoIO. By following the steps outlined below, you will be able to set up your device for both uplink and downlink operations, enabling seamless data exchange.
Uplink Configuration
To configure uplink communication, follow these three main steps:
1) TagoIO Setup
- Access Authorizations:
- Go to Devices.
- Click on Authorizations at the top of the page.
- Create a New Authorization:
- Click the Create Authorization button.
- Provide a meaningful name for the authorization (e.g., KPN-Integration).
- Click Save.
- Copy the Authorization Token:
- After creation, copy the authorization token. You will need this in later steps.

Note: you need to create only one Authorization for all your devices.
2) Setting up KPN Things
Access your KPN Things portal, log in, and follow the steps:
- Select the "Things Management" tab.
- Choose "Add new Destination."
- Select "HTTPS" as the destination type.
- Fill in the required fields:
- Name (Required)
- Description (Optional)
- URL: Use the endpoint format https://kpn.middleware.REGION.tago.io/uplink.
- Replace REGION with your deployment region (e.g., us-e1, eu-w1).
For a list of available regions, visit TagoIO Network Integration. - Shared secret (Required)
- Click on Advanced Configuration and insert in Headers the token you have generated on step one.
- { Authorization: your_authorization_token }
- HTTP method - POST
- Expected response code - 200
- Click on Add HTTPS endpoint
3) Add Device in TagoIO
To integrate your device with the TagoIO Platform, follow these guidelines:
- Ensure Device EUI Consistency:
- When creating the device in TagoIO, use the exact same Device EUI that is configured in WiTTRA.
- The Device EUI must match exactly to establish a successful connection between WiTTRA and TagoIO.
- Select the Appropriate Network and Device Type:
- Choose the WiTTRA Network during the device setup process.
- Select the correct device type from the available options. If your device is not listed, you can add support through connectors.
- Add Device Support via Connectors (If Necessary):
- If your device type is not available in the default list, enhance its compatibility by utilizing connectors.
- For more information on available connectors and how to use them, refer to the Connector Overview.
For detailed instructions on adding devices, visit the Adding Devices page.
Downlink Configuration
After you have setup the Uplink properly, you can then configure the downlinks for being capable of transmitting data from TagoIO to your devices.
For this step, you need to create API Keys at KPN Grip Portal. For that you need to be an administrator in the GRIP Portal. More information here.
1) Setting up KPN Things
- Access your customer account to obtain the Grip tenant ID.
- For detailed instructions, refer to the guidance provided in this link.
- Save this information as it will be needed later.
- Access your GRIP portal and enable API keys for downlink as follows:
- Click on "Identity and API Keys" on the left side.
- Click "+ Add."
- Fill in the required fields:
- Name (Mandatory)
- Description (Optional)
- Click "Add" to obtain your Client ID and Client Secret.
- Copy the have the Client ID and Client Secret
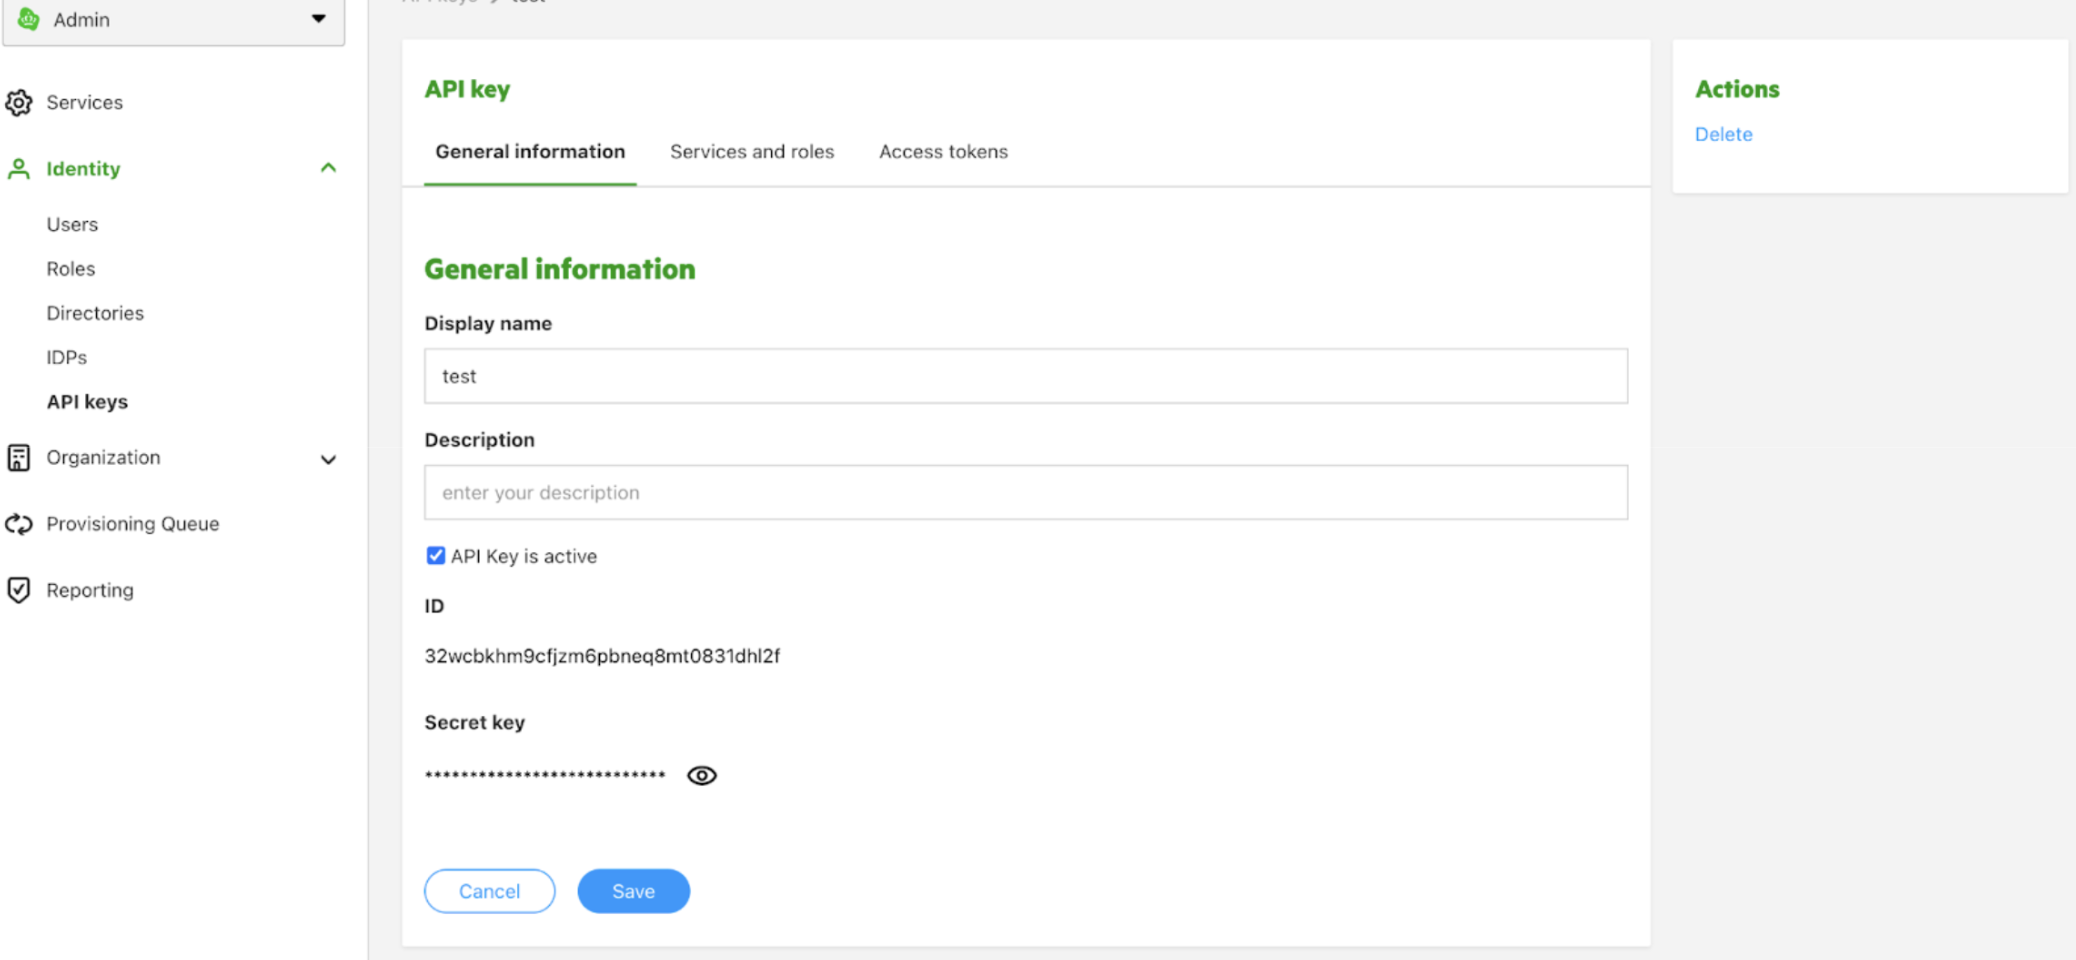
- Enable permission for the API key follows:
- Access the tab Services and roles.
- Click on + Add service
- Select the option KPN Things Portal
- Click "Add" and Save
2) TagoIO Setup
In the Authorization you previously added, edit the parameter to include the client id, client secret and grip tenant id, separated by a semicolon, like so:
your_client_id;your_client_secret;grip_tenant_id
3) Sending Downlinks
Now you can use TagoIO built-in functionalities to send downlinks to your devices. Read more about it at Downlink for LoRaWAN™.
Topic Participants
Vitor Lima