How to Set Up Google Maps in Your Map Widget
Hi everyone!
The Map Widget allows you to easily use other map providers like Google Maps instead of the default source map, this allows users to use their preferred map provider that fist their use case.
In this tutorial I'll show you how to use Google Maps as your map provider on TagoIO. Here's a step-by-step guide to get you started:
In this tutorial I'll show you how to use Google Maps as your map provider on TagoIO. Here's a step-by-step guide to get you started:
Step 1: Set up your Google Cloud account
- Access or create a Google Cloud account at https://developers.google.com/maps
- Select or create a new Project in your Google Cloud account
Step 2: Generate your API key
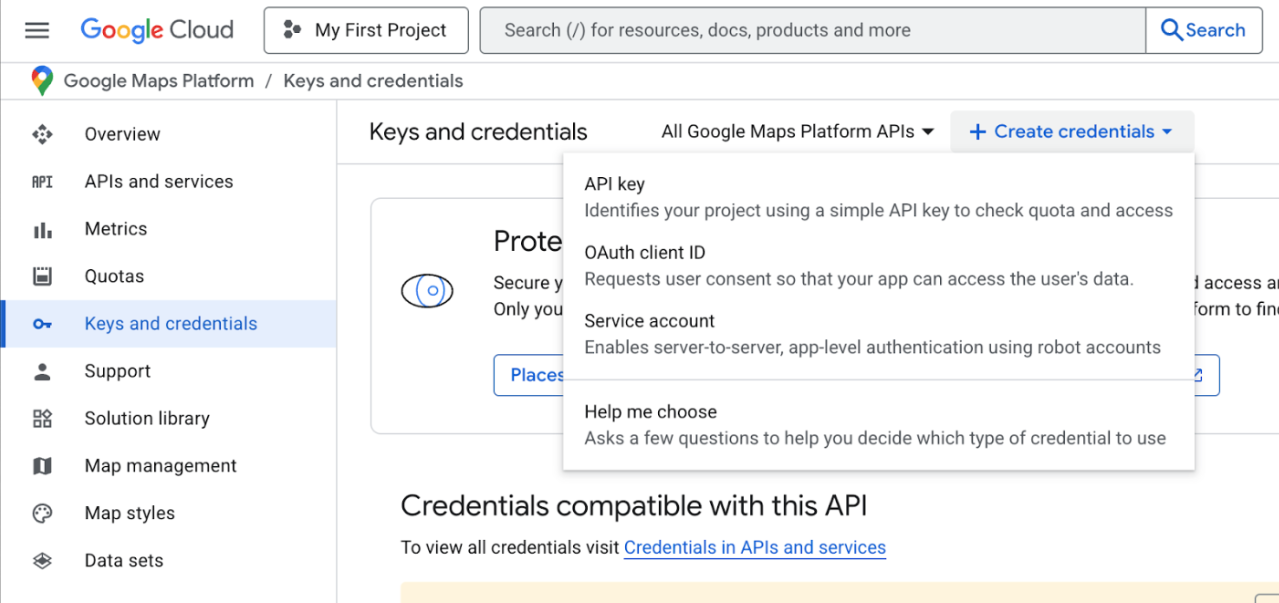
- Open the Google Maps Platform settings in your Google Cloud project
- Navigate to the Keys and Credentials section and create a new API key
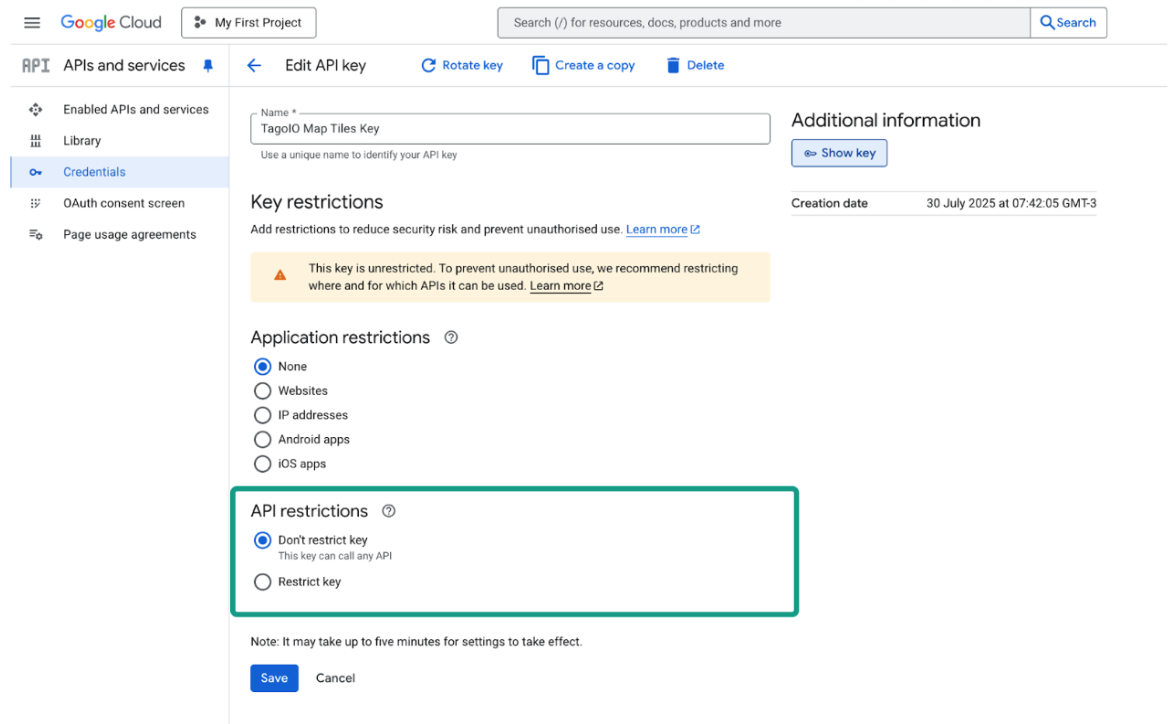
- Find your key on the Keys and Credentials page and click on the Edit key button
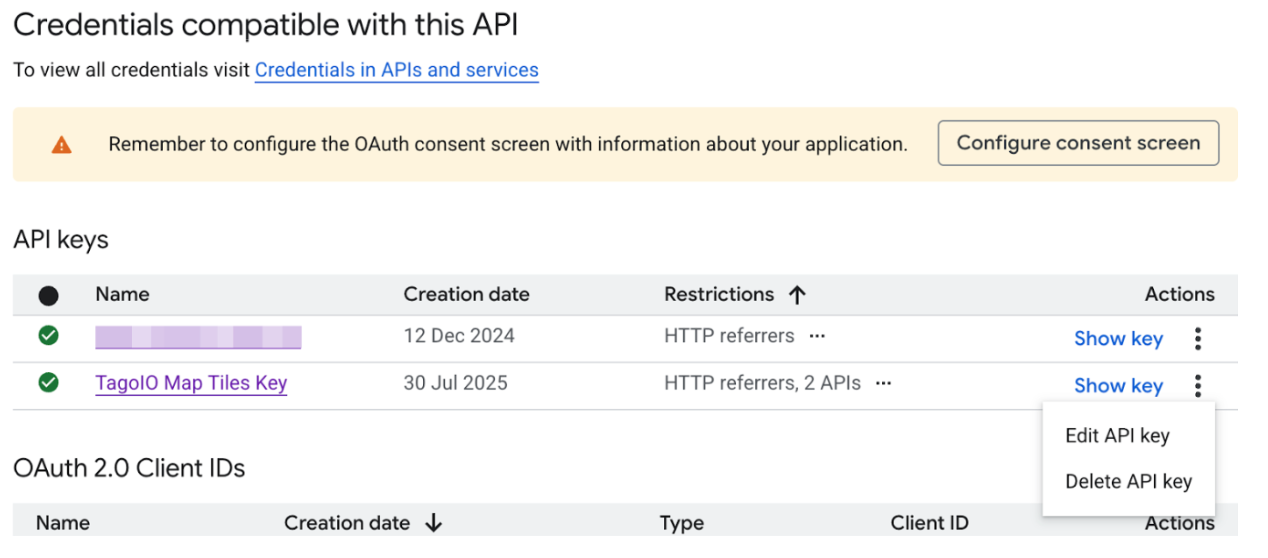
- Rename your key for easy identification and optionally configure API restrictions to limit access to Tiles only
Step 3: Enable the Map Tiles API
You need to activate the Map Tiles API since it is disabled by default.
- In your Google Maps platform, go to APIs and Services, and search for Map Tiles API
- Make sure it is enabled

Step 4: Secure your API key
We recommend following Google's best practices for securing your API key. Check out their documentation here: https://cloud.google.com/docs/authentication/api-keys-best-practices
Step 5: Add your key to TagoIO
- Copy your API key from Google Cloud
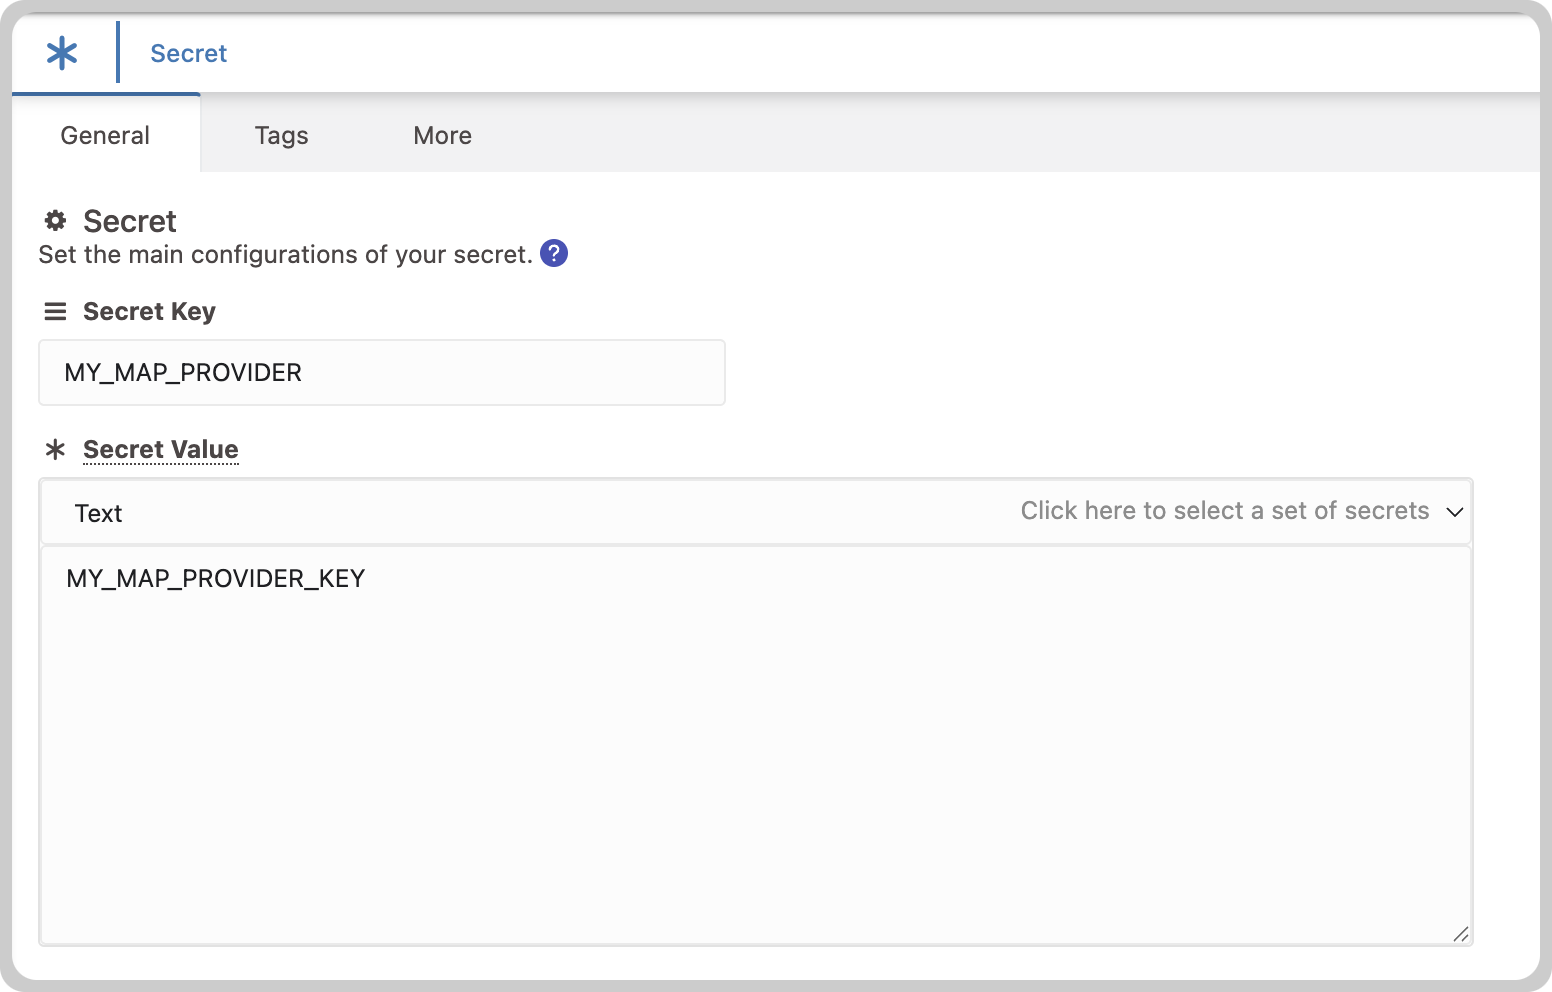
- Navigate to the Secrets page in your TagoIO Admin
- Create a new Secret and add your Maps API key to it
Step 6: Configure your Map widget
- Open your Map widget settings
- Select Google Maps as your tile provider
- Choose the Secret you just created
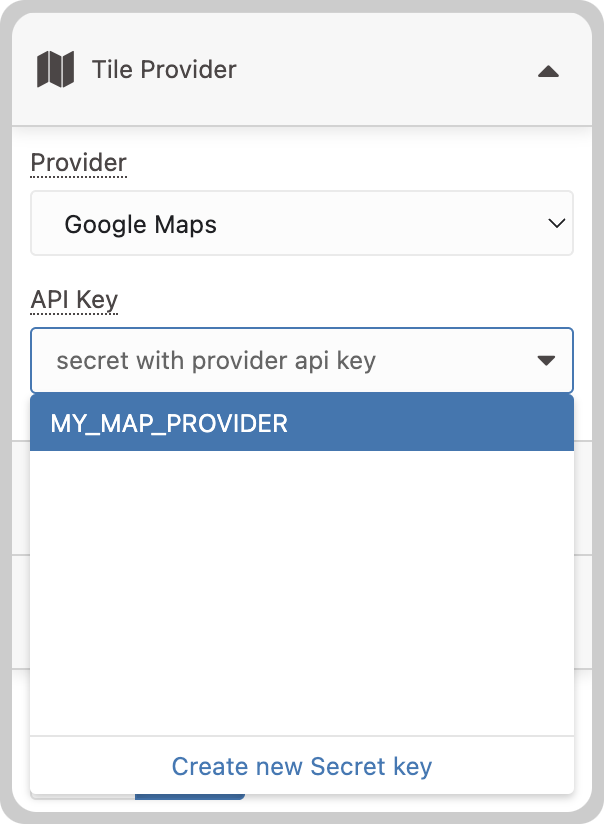
That's it! Your Map widget is now using Google Maps.
If you need any help with the setup, feel free to reach out to our support team at support@tago.io.
Happy mapping!
Topic Participants
Phil Gutierre