How to auto-scale your profile limits
In this article, we will learn how to setup an auto-scaling script by profile in your account. In the example below, we will use a pre-made script that checks each one of our services and scale up if usage reach a percentage of our limit.
By following all the steps in this article you will end up with:
- An analysis with the percentages for each service you want to scale.
- An action to schedule how often you want the services to be verified.

Notice that you need to add this script to each one of the profiles you want to have auto-scaling.
Setting up the analysis
To get this analysis:
- Open your analysis module
- Click "+ Add Analysis"
- Below "Start analysis with a code example..." select "Autoscaling profile Limits"

Here we will only set up the Environment variables.
- Enter the following link: https://admin.tago.io/account/
- Select your Profile.
- Enter the Tokens tab.
- Generate a new Token setting Expires to Never.
- Press the Copy Button and place it at the Environment Variables tab of the analysis, for the value of the account_token key.
- Now you need to edit the percentage of usage for each service in the environment variable. They're set by default, to scale when usage reach 95%. You can set to 0 if you want to disable auto-scale for a specific service.
In order to quick test it, press Save and Run at bottom of the page. Your analysis will start to show up messages in the console of the Analysis tab.
Make sure you don't have any error in the console, such as being unable to auto-scale. The console will tell you. Here is a normal message from the console:
Setting up the action
Next step is to create an action for your analysis for it to run automatically.
- Go to your actions page https://admin.tago.io/actions
- Press the + Add Action button to start creating a new action
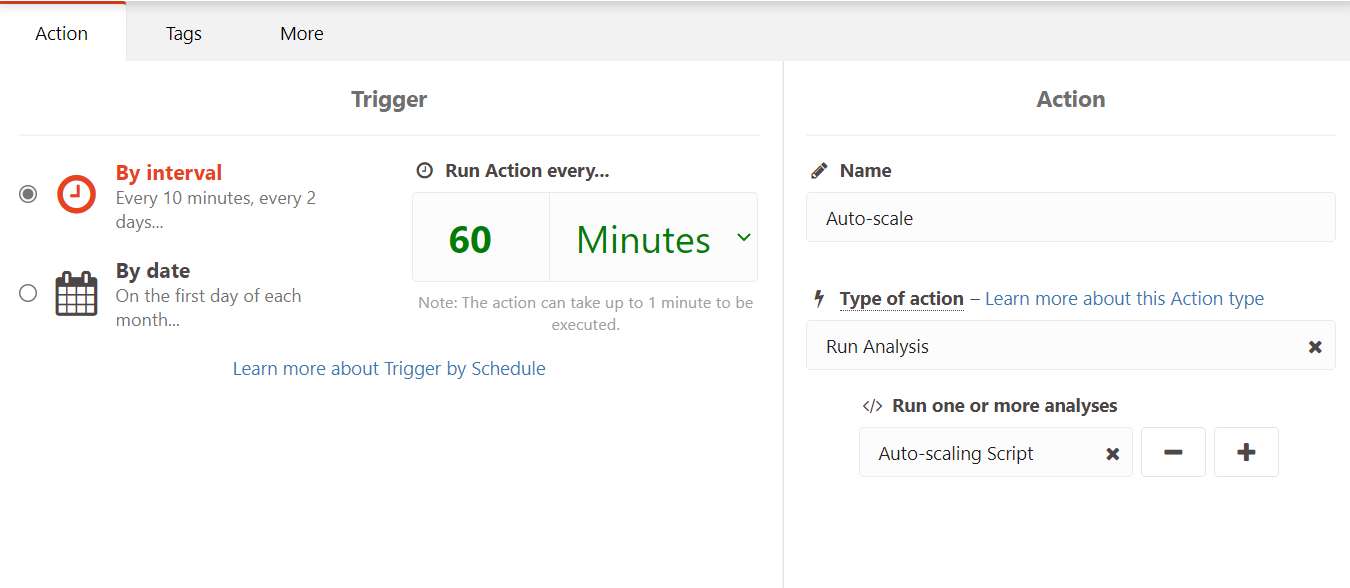
- Select the Action "Type of Trigger" to Schedule, and the "Type of Action" to Run Analysis. Select your analysis.
- Press Create my Action button.
- In the next screen, you can enter the interval of time the action will call the analysis to check your limits.
- Press Save.

You're done!
Now the action will continuously call your analysis to check your limits, and automatically scale up if needed.
If the script receives a new version, you can quickly update to the new version by clicking the Snippets button and selecting "Autoscaling profile limits".
You can follow this topic to keep up to date with any new version release.
Topic Participants
Vitor Lima
vitorfdl